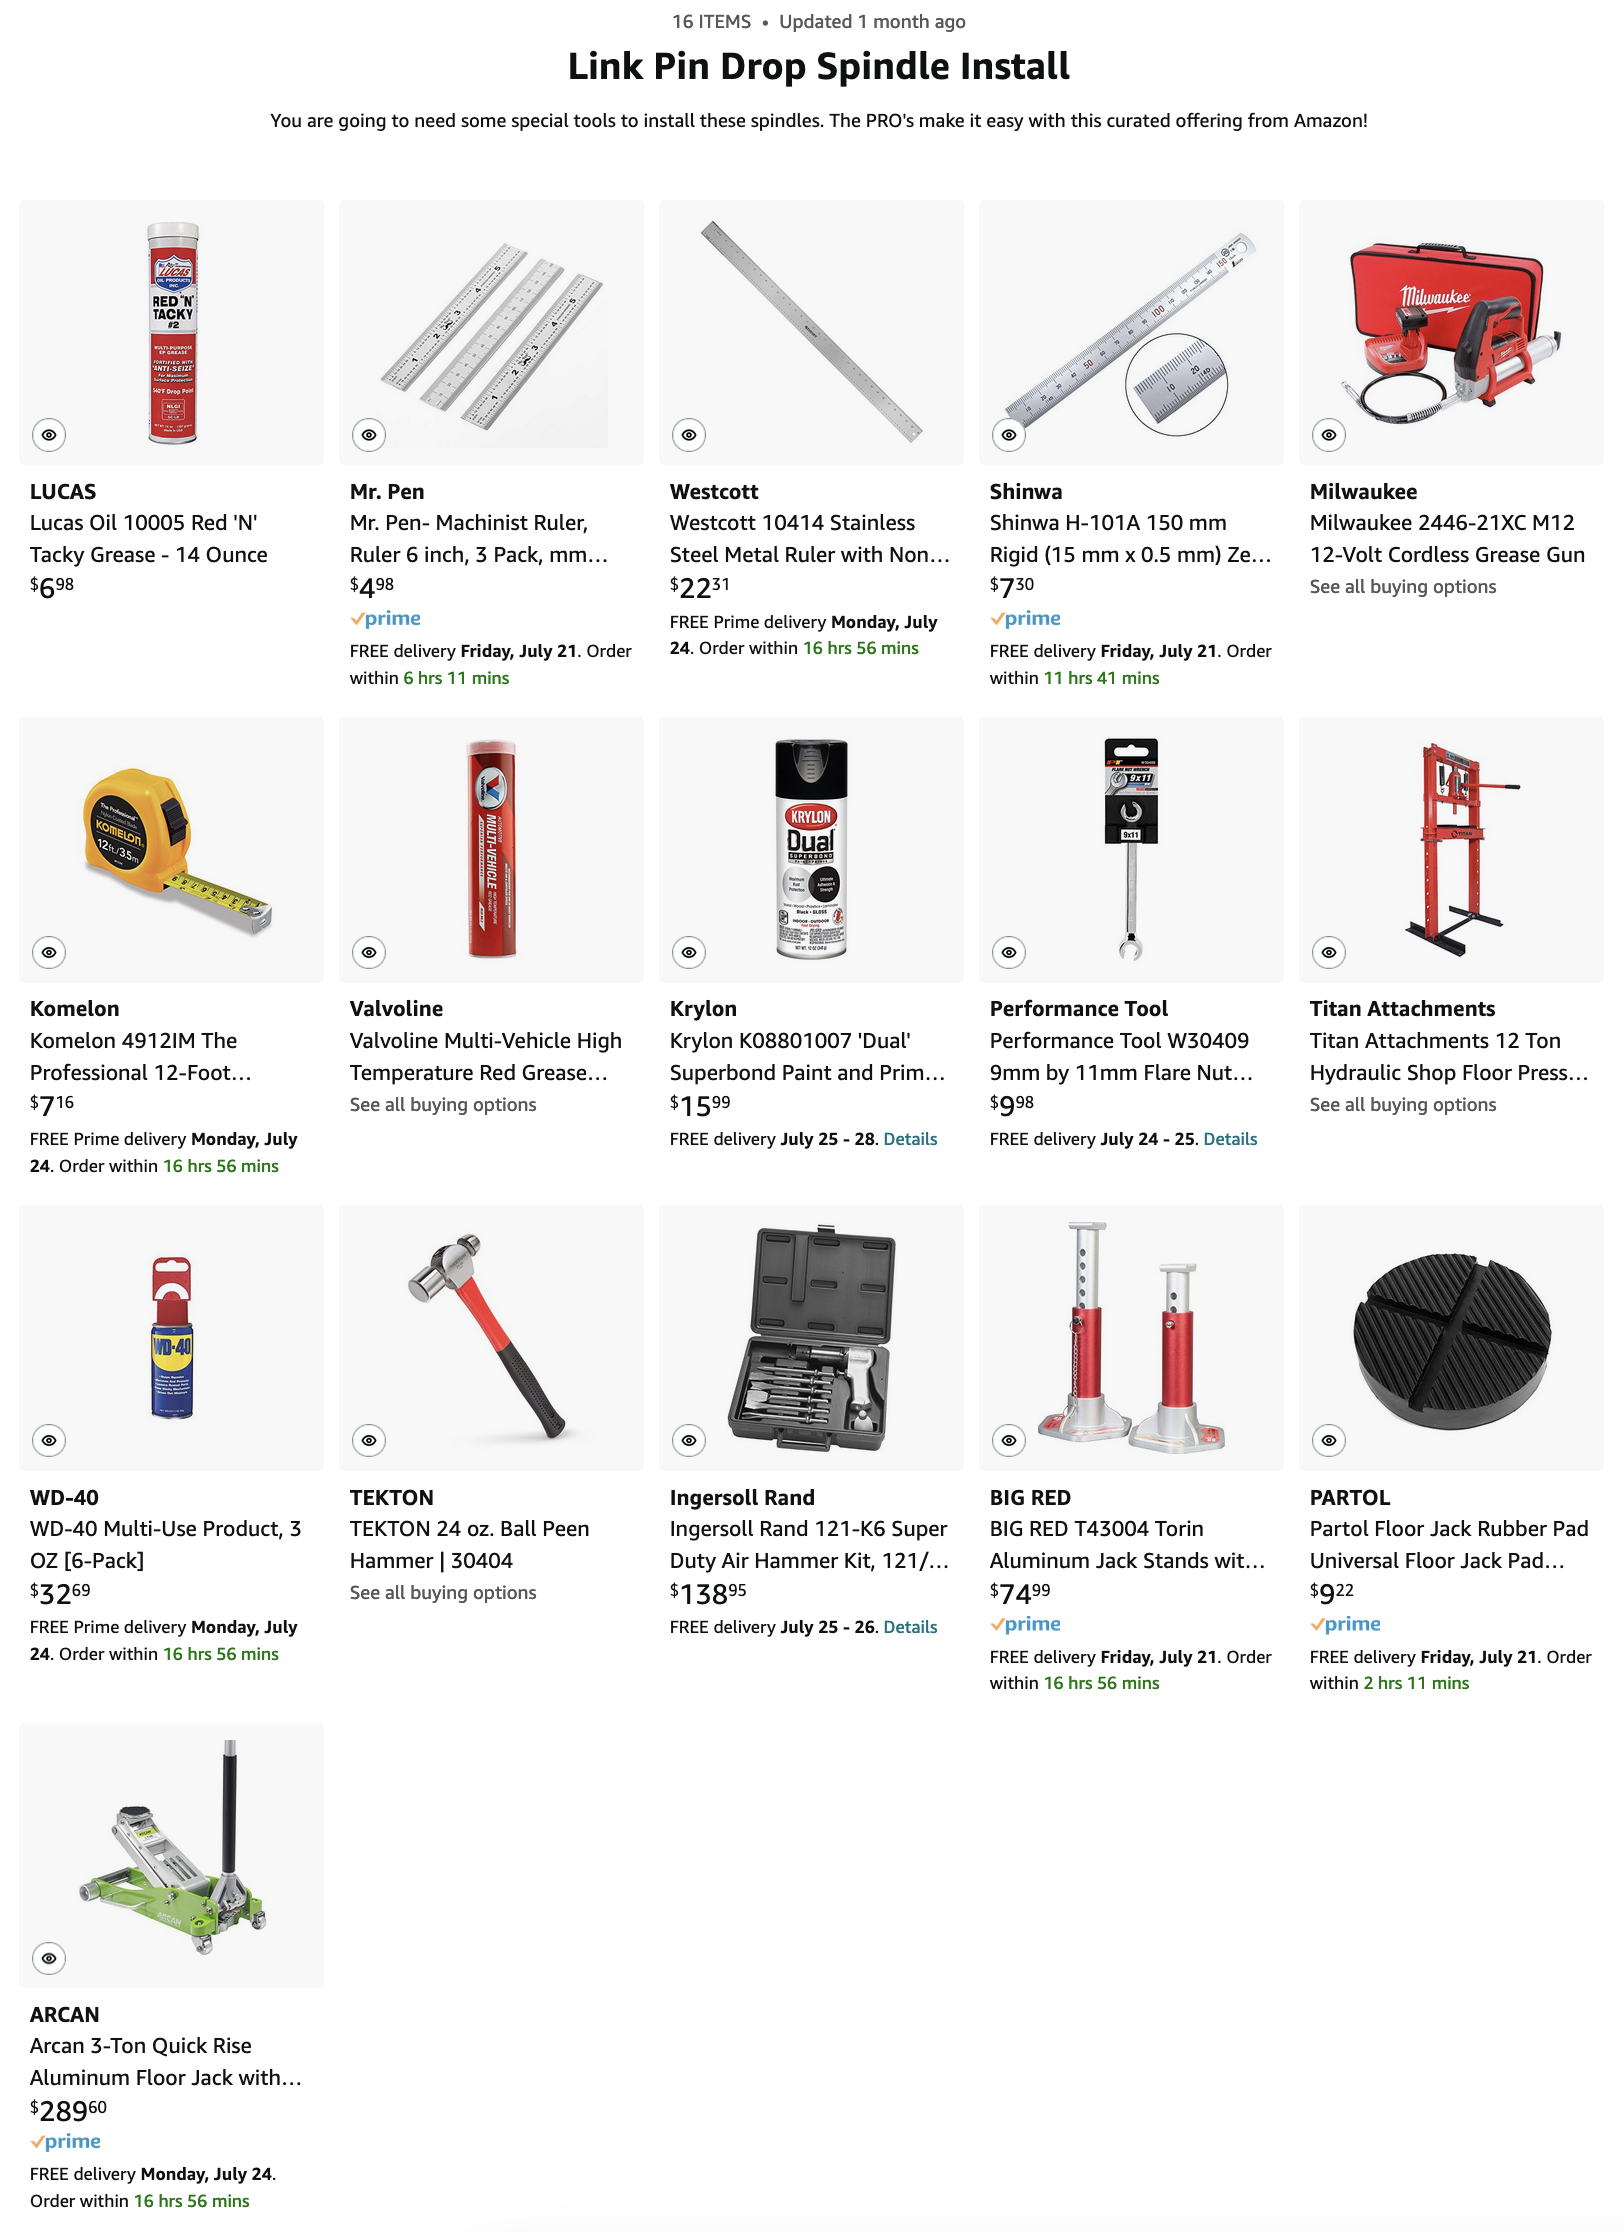
Our goal is to make the install a breeze. Please read the entire guide. Any time you see a 🔧 that tool is available
on our Amazon tool page. If you have a tech question, you can
text us here.
Loosen the lug nuts 1/4 turn before jacking the vehicle up.
Jack 🔧 up the front of the vehicle and place stands 🔧 underneath the chassis.
Remove the wheels and place them under the chassis as a fail-safe.
Disconnect the battery.
Starting on the driver's side, you must first remove the circlip from the speedometer cable. I like to use a piece of clear tap to save the circlip from falling in a crack or getting lost. Stick it to your beer.
Remove the dust cap and the spindle nuts and slide off the drum. Remove the (4) bolts holding the backing plate onto the spindle and set it to the side. Do not break loose any brake lines to avoid bleeding the brakes afterward.
The outer tie rod ends will need to be removed from the spindle. To do this, loosen the 17mm nuts on the bottom but only partially remove them. There are two ways to remove the swedged fit connection here. Utilizing an air hammer 🔧 from the bottom, place the air hammer fitting on the stem of the tie rod and force up. This should pop the end out of the spindle. If you don'tdon't have an air hammer, you need to loosen the swedge by tapping the side of the spindle with a hammer 🔧 . I know I know, NEVER USE A HAMMER ON A VW. I get it. But I am against using a pickle fork or any heinous acts. You will tap towards the most substantial part of the spindle until it pops loose. Then remove the nuts.
You must remove the four link-pin bolts on the back side of the spindle. Both bolts and nuts should be 17mm. A quick tip: the link pins' outer ends are 17mm wrench size. You can rotate the link pin to disengage the bolts easier.
Remove the spindle assembly from the car and repeat on the Passenger side.
Now it's time to send these spindles to the PRO's at Airkewld. Take some electrical tap and mask the spindle threads and bearing surfaces so they are not damaged in transit. Pack the Home Depot bucket or box nicely so the spindles do not move in the box/bucket. Slap the label on the box and drop it off at the nearest FedEx location. The spindle shipment will be insured in case of damage or loss in transit. We got you.
Upon receiving your spindles from the PRO's, take some pictures and share them on Social Media. Make sure you TAG us in the pics #AirkewldArmy
Installation is the reverse of the removal process, as described in the Bentley manual. Some key differences do need to be addressed. The main difference is that the kingpins will now be installed 180 degrees from stock. The kingpin retaining bolt will now be towards the inside of the vehicle. On a stock application, the kingpin bolt is towards the outside shims (eight shims for each link pin), and the link pin needle bearings/races are already in the spindles.
If you opt for raw spindles, you must coat them in the paint of your choice before installation. We like showcasing our work and not covering it with cheap paint. You will be ready to install if you opt for the powder-coated finish.
Before installing the spindles, you must measure the offset of your trailing arms to determine the shim stack for the factory camber. The lower trailing arm end is longer than the top arm. Lay a straight edge across the bottom arm end and measure the offset as pictured below. Each side needs to be measured as they often have different offsets.
Now that you know the offset... check the chart. Each link pin takes eight shims. The chart shows where these shims need to be placed for proper camber. Assemble your link pins with the proper shims being sure to lubricate the shims and the needle bearings. Do not use stock washers, o-rings, or seals.... link pins, needle bearings, and shims; nothing else is needed.
Next, install the link pin retaining bolts and tighten the link pin down as tight as you can by hand. Then loosen the link pin 1/16th of a turn. This is a crucial step as it allows for some clearance so the shims, which are thrust washers, have room to spin and do their job correctly. If you do not loosen the link pin, the shims will wear out prematurely and throw off the camber setting, causing tire wear and, eventually, wear to the entire link pin assembly.
Now that the spindles are installed take note of the lower link pin bolt to the tie rod arm of the spindle. Depending on your final ride height, this area may have a clearance issue. The solution is simple... You may need to slightly grind down the head of the retaining bolt or purchase a bolt with a "Button Head," which will allow for more clearance. If you are unsure of how much room you need to have, drive your Bus around for a while, and if the bolt head is hitting the spindle, it will wear off the paint on the spindle arm. If you can see some wear, you need to make more room. This usually is NOT an issue but does come up for some customers due to differences in spindle castings and owners' preference on ride height.
Now for the tie rods... The tie rod hole has been reamed on dropped spindles so that the tie rod will mount to the spindle from the bottom. (Stock tie rods mount from the top.) Mounting the tie rod from the bottom allows more clearance between the tie rod and the frame rail. To mount the tie rods from the bottom, the tie rod hole has been reamed out to the size of Bay tie rods... which are larger. So what does all this mean to you... To use dropped spindles, you must have two adjustable tie rods. Each tie rod has a Split end and a Bay end. Note that Split and Bay adjustable tie rods are very close in length. All you need to do is swap the ends. This will allow you to have a Split tie rod end to attach to the swing lever and a Bay end to attach from the bottom of the spindle
When you install your backing plates, rotate them 180deg from stock. The brake line will now be at the bottom of the backing plate. This will allow for better routing your flexible brake line and speedometer cable. Please make sure that they are routed in a manner that will allow for full movement of the steering components.
Tighten the spindle nuts until the drum no longer spins with force, then back off 1/4 turn
Lube 🔧 your speedo cable to pass through the spindle and protrude past the spindle shaft. Place the dust cap over the cable and install the eClip and tap the cap on until it bottoms out. Install your wheels and snug the lug nuts up
Lower the vehicle on the ground.
Now it is time to get the alignment close. Adjust the tie rods until the tire resembles the fenders on each side. Take a measurement 🔧 from the front of the tires from the same place on each tire. Then take a measurement 🔧 on the back of the tires from the same tread you measured from on the front. Adjust to make the measurements the same. This is a rough alignment. It is always recommended to have an alignment specialist do a 4-wheel one digitally to ensure your tires will wear evenly and the best user experience is obtained.
Once this is done, take a grease gun 🔧 with a new grease tube 🔧 and pump grease into your zerks evenly. Remember, when taking apart your VW in the first place, your VW was caked with grease. These cars need lube to work correctly. Wipe off the excess grease from any area it has secreted from. It is recommended that each time you do a valve adjustment or oil change, pump those zerks with a couple of pumps each to ensure that they are appropriately lubed at all times.